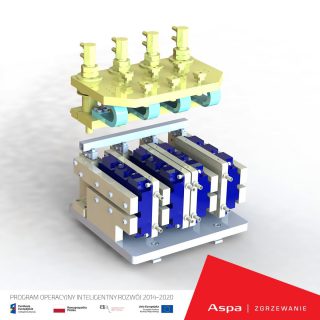
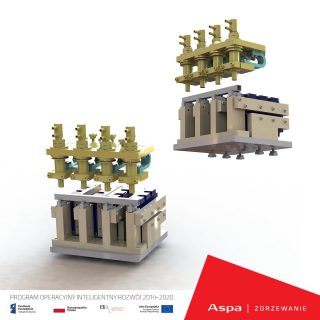
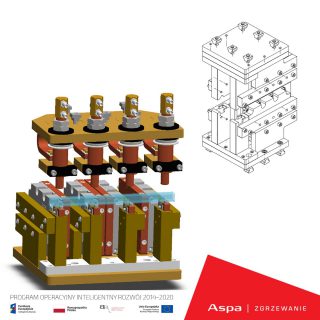
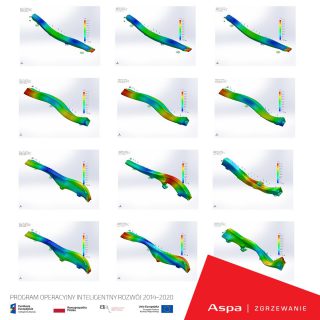
The use of such welding machines will be of particular importance in the production of complex and high-precision components in the automotive and household appliance industries, among others. The implementation of high-precision welding equipment in the production process of components for the industry will introduce a new quality standard, while reducing the number of defective components, thereby reducing production waste and the need for raw material. In addition, modern tools will speed up and automate the production process, as well as reduce its cost-effectiveness.
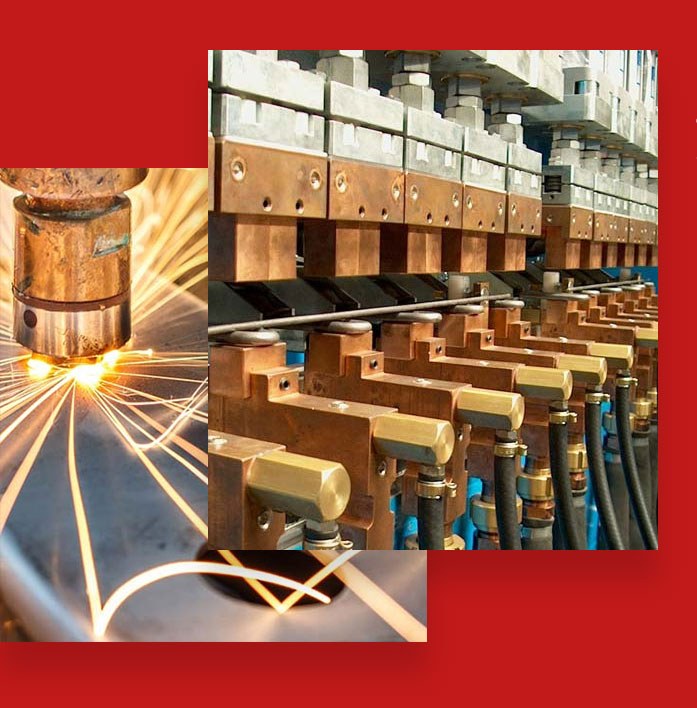
About the project
Main objective
The main objective of the project is to develop a new product such as innovative multi-point welding machine, which we intend to achieve as a result of the planned R&D work. This work has been divided into 4 stages, which include industrial research and development work. During them, key elements of the technology will be developed and tested, prototypes of the device will be made and tests will be carried out in real conditions. The designed solution will be implemented into the business activities of the Applicant, significantly increasing the competitiveness and innovativeness of our company against the entire industry.
The proposed solution is aimed at eliminating key and common technological problems in welders known on the market. The new solution allows the use of an electronic circuit that switches the current between the different branches of the tool, pressing all the welded parts at the same time. This will create micro-cycles of welding, the frequency of which - depending on individual cases - will range from 10 Hz to 10 kHz.
We are introducing numerous
Improvements
Limitation
Limiting the welding current to the current of a single weld.
Simplification
Maximize tool simplification by reducing the number of additional moving parts.
Simultaneous forming of all welds
Which, in the case of, for example, improper contact when the workpieces are initially placed in the tool, will be corrected in the welding process itself when the workpieces are pressed together.
Performing
Performing multiple welds in a single production cycle.
The application of the system in question is difficult in the case of traditional welding tools consisting of complex clamping systems. Therefore, the project will propose a completely new, simplified design of the device.
The new tool will allow multiple welds to be performed simultaneously in a single operation, and will minimize the influence of leakage currents. It will not require additional electronic parts (such as pairs of keying elements), but only individual fragments, further simplifying the design and reducing manufacturing costs. The use of two pressure plates, attached directly to the main actuator of the welding machine, will allow easy and inexpensive use of means of controlling the welding process in the form of a distance sensor.
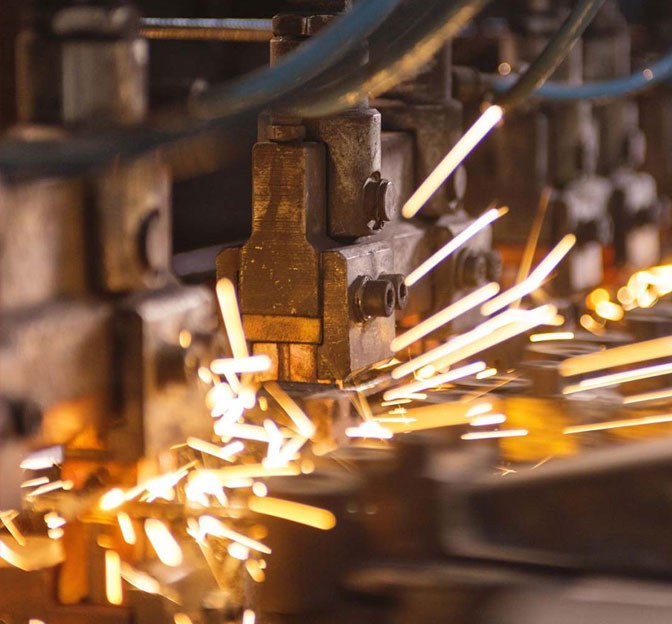
The newly designed device consists of
the following modules:
Based on a proprietary compilation of the android system, allowing not only integration with other devices, but also easy expansion with further functionality.
Telemetry systems operating over TCP/IP, CAN, ProfiBus and GPRS protocols, enabling communication not only within the production plant, but also automatic communication with service and data transfer to central production management systems.
High-speed digital output modules, equipped with solid-state amplifiers to control IGBT transistors, carrying out a quasi-simultaneous, multi-element welding process.
Development of a measuring system for precise and fast measurement of welding current cooperating with the designed controller.Measurement of current is an extremely important element, and in the case of the designed solution will be carried out in two independent ways: in the current source, where the measurement will be carried out similarly to standard solutions, and by measuring with the help of separate induction loops, mounted on each of the branches welding individual workpieces.
This will make it possible to control not only the total welding current, but also the dynamics of the current build-up and its peak values on each welding branch, which will testify to the quality of the weld made on the individual workpieces.
Development of a laser system that measures distances between welding tools. The system for accurately measuring the distance between welding tools will be used in the quality control system in three ways:
- The first use will be to measure the initial pressure of workpieces and the crush of welding humps. In the case of deviations from the assumed displacement value for a given process, it will be possible to determine whether the workpieces placed in the device were made within the correct tolerances which will allow 100% quality control of the workpiece with no need for an additional control process.
- The second way will be to measure the dynamics of weld formation during the welding process, and then use as a trigger to change the clamping force.
- After the process, and perhaps even while it is still in progress, quality control will take place – which will automatically extend the welding cycle if the target distance between the welding tools is not reached. The inspection will serve to assess the quality of the welded workpiece. If the distance is not within the set limits – the operator will be informed of a possible error in the welding process.
Testing of the module of dynamic change of pressure force during the welding process. During the welding process, one of the very unfavorable phenomena is weld spatter. It is the result of excessive heating of the weld while applying high clamping force. The designed system will try to dynamically control, during the process, both of these values. On the one hand, an attempt will be made to control the clamping force (which is quite cumbersome due to the high inertia of the system – the large mass of the components and the large forces in the system) and to very dynamically reduce the current flowing through the weld after it has liquefied (which manifests itself in a rapid change in the distance between the welding tools – which is why the welding process management system is so complicated).
The research on the ultrasonic system of pressure control and control of the weld after the process. The system being researched will consist of ultrasonic transmitters and receivers built into the welding tools, which will perform two frequency analyses: after applying pressure to the workpieces and after the welding process. The frequency analysis will examine the resonant frequencies of the workpiece. In this way, before the welding process, it will be possible to determine the uniformity of the pressure applied to the individual workpieces, which, even before the welding is performed, will show data from quality control of the geometry of the workpieces to be welded, and after the welding process, it will predetermine the quality of the resulting welds.
Title of the project: Grant for working capital for Przedsiębiorstwo Aparatury Spajalniczej ASPA Sp. z o.o..
Planned effects of the project: Maintaining the operation of the enterprise.
Total project value: 202 235.31 PLN
European Funds contribution: 202 235.31 PLN
Beneficiary: PRZEDSIĘBIORSTWA APARATURY SPAJALNICZE ASPA SPÓŁKA Z OGRANICZONĄ ODPOWIEDZIALNOŚCIĄ


